
Guide
How to Build the Force Edge: Print, Weld, Sand and Paint a Swingable Sword
The Force Edge is one of the simplest props in the catalogue to assemble: a blade, a guard, a handle, a pommel and two amulet gems. But it is a full-length sword, and a full-length sword lives or dies on what is holding it together in the middle.
This is the complete build, start to finish, as I did it for the tutorial video: which materials each part is printed in, how to size and cut the steel core, how to weld and sand the blade until the seams disappear, and how the metallic finish on the fittings is done without an airbrush. Every step is one I have actually run on this model.
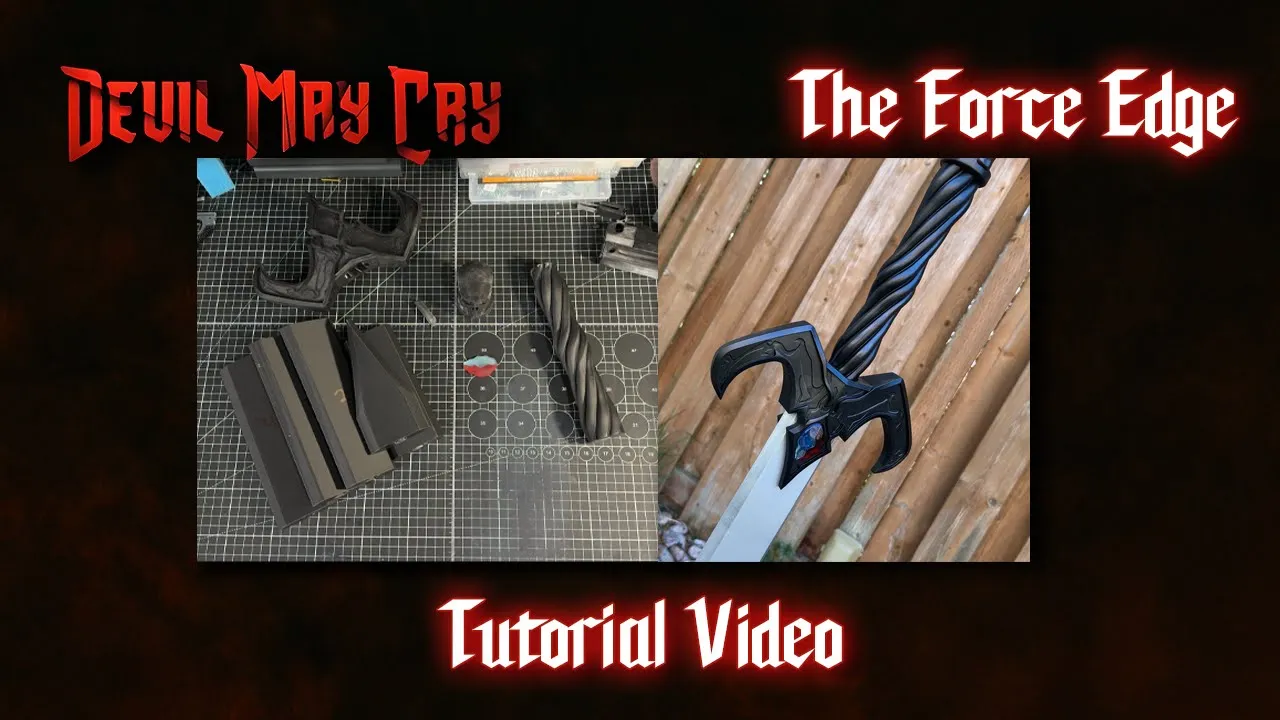
Watch the full build above, then follow the steps below at your own pace.
Get the modelWhat You Are Building and What to Print It In
The model is the Netflix anime version of the sword, so it is a little different from the Devil May Cry 1 and 3 designs. Five kinds of part make up the build: the blade (printed in sections), the guard, the handle, the pommel and the amulet gems that slot into the guard.
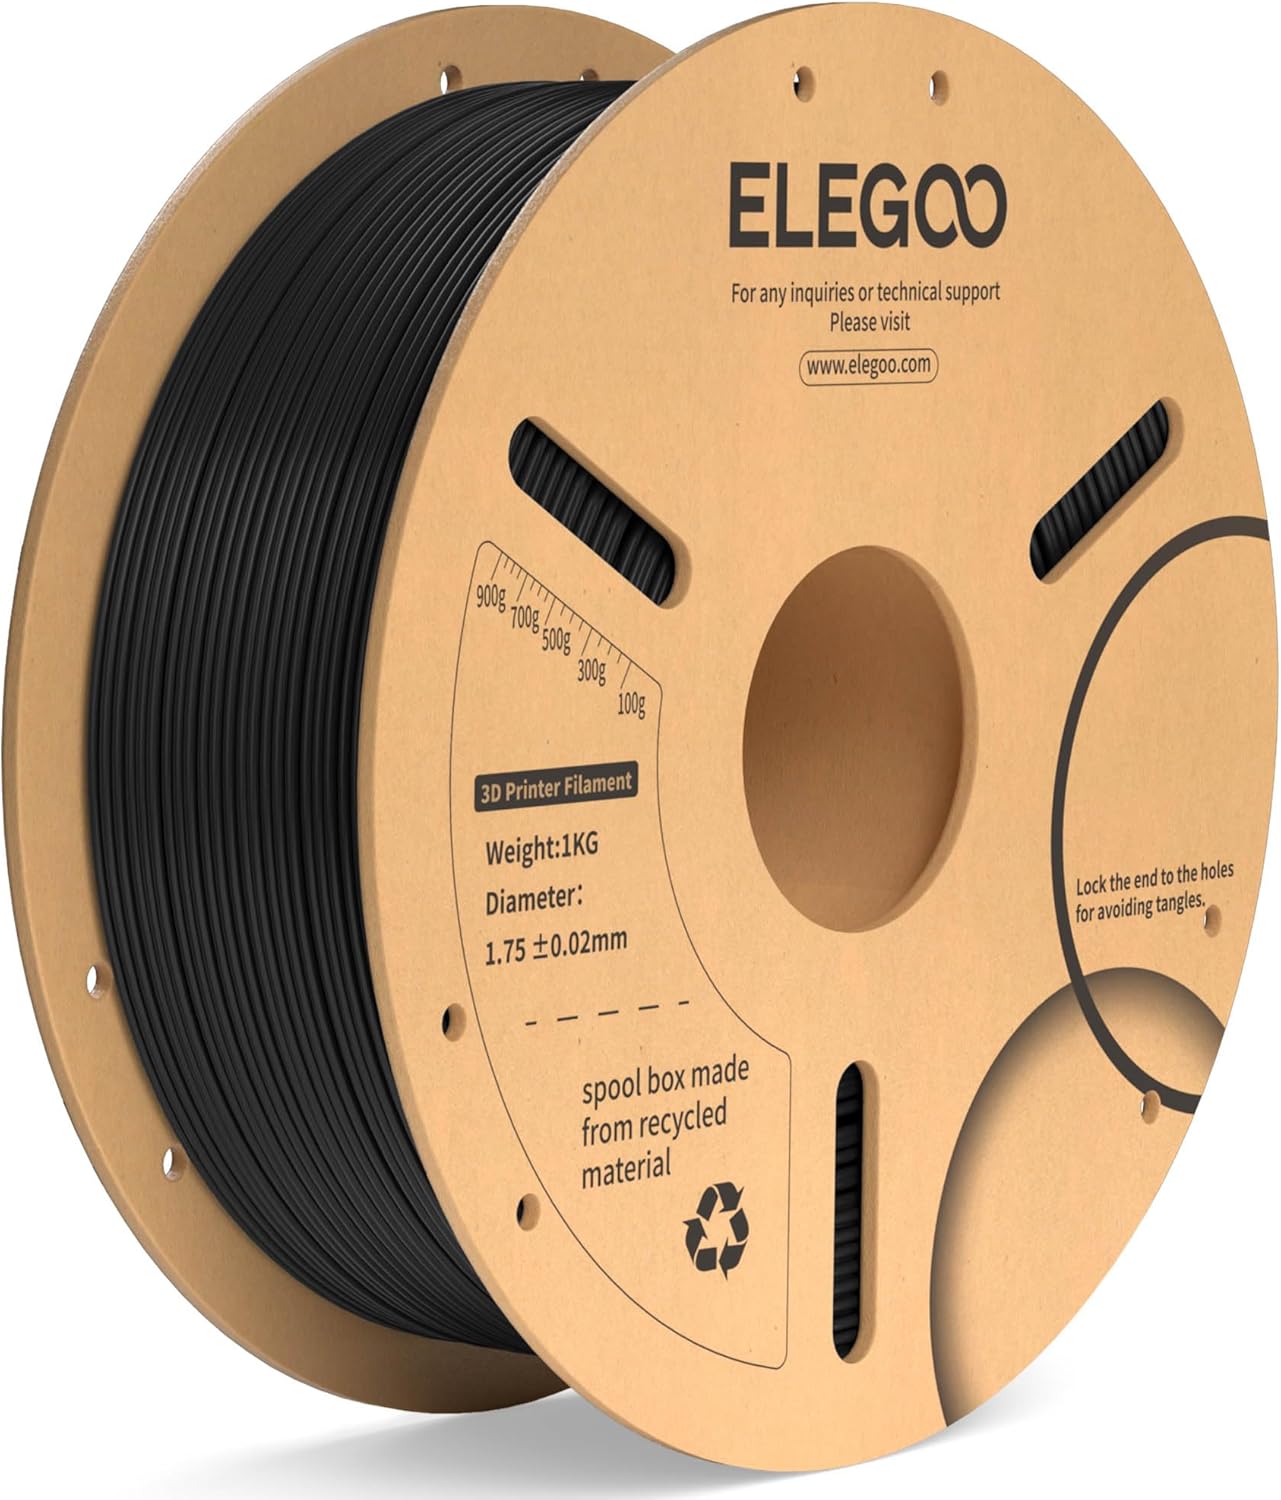
The blade is FDM. I printed it in PLA+ with gyroid infill at around 20% and four walls, which is already stiff on its own. Every blade section has a square channel through its centre for the steel core, and that core is what makes the finished sword stable enough to swing.
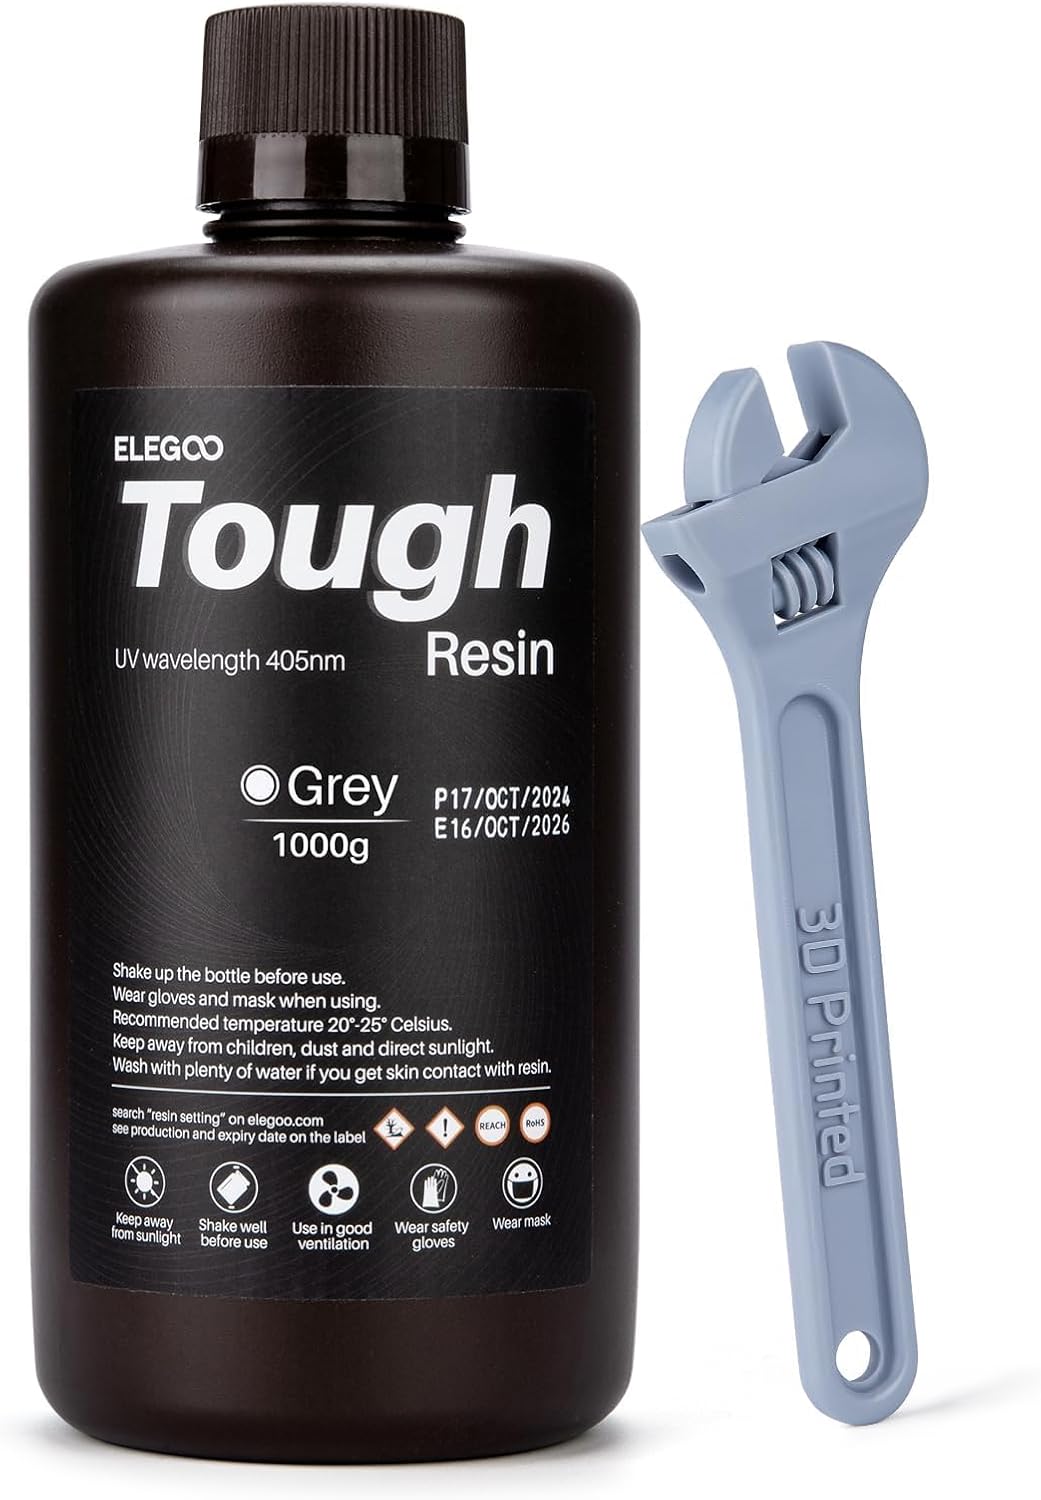
The guard, handle and pommel are resin, and I would specifically print them in a tough resin rather than a standard one. Standard resin tends to crack when a part takes a knock; the tough-resin fittings on this build have been dropped more than once and shrugged it off. The gems can be any translucent resin, because they get sanded and clear coated until they look like glass regardless of what they started as.
The core is a 1/2 inch square steel tube, 48 inches long, from Home Depot. It cost me about $18 Canadian. The files include a printable, numbered plastic beam as an alternative, but I have not tested it, and a printed beam will not give you anything like the strength of steel. If you intend to swing this sword, buy the tube.
Step 1: Dry-Fit Everything on the Steel Core
Before any sanding, welding or paint, slide every part onto the steel tube in order and check that it all seats. Do this with raw prints so you find fit problems while they are still cheap to fix.
The handle goes on before the guard. The handle has internal grooves that make it twist onto the square tube, and if the guard is already in place the tube will not line up for that twist. Work from the blade end: blade sections, then the handle, then the guard.
The tube ships far longer than you need, so this dry-fit is also where you take your cut measurement. With everything stacked, mark the tube where the handle ends with a permanent marker. Pull the parts off, seat the pommel on its own, mark how deep it sits, and add that depth to your first mark. Cut at the second mark and the tube will finish flush inside the pommel.
Step 2: Weld the Blade Seams
The blade sections are joined by plastic welding with a wood-burning tool. I use a Weller pen with a pointed, flat-sided tip: the point draws a clean line along the seam and the flat face smooths it back down afterwards. It cost about $30 at Canadian Tire.
Weld deep. A shallow surface pass looks fine but leaves the join weak, and a long blade that falls over will crack right at a weak seam. Push the tip in far enough that the two sides genuinely fuse, then flatten the ridge.
One honest caveat: deep welds slightly deform the surface either side of the seam. You will not see it while sanding, but the shallow dips show up once primer goes on, and they are too slight to fill properly. From a foot away on the painted sword they disappear, so I accept them rather than chase them.
Melting PLA puts fumes in the air. Wear a respirator and do this somewhere with real ventilation, not just an open door.
Step 3: Sand the Blade Through the Grits
The resin fittings barely need sanding: a few frayed spots where supports came off, and filler primer handles the rest. The PLA blade is where the hours go.
Use a mouse sander, not a rotary one. A rotary sander spins fast enough to heat and deform PLA; a mouse sander only vibrates, so it takes the surface down without melting it. You can do all of this by hand, but the sander is roughly ten times faster.
Work through 80 grit, then 120, then 220. The first 80-grit pass with the sander levels the welds; some come out clean, and any that went too deep get flagged for filler. Look for faint marks from the printer's Z-seam as well. They do not always sand out and need filling too. I did the 120 pass by hand to get the surface more even before filling.
Step 4: Fill the Low Spots With Spot Putty
Bondo spot putty is a one-part filler, no mixing, that goes on with the little applicator pads in the tube. Smear it over every over-deep weld and any nick or dip in the print.
It skins over quickly, and was starting to dry while I was still applying it, so work in short stretches and do not spread more than you can smooth in a minute or two. It is fully sandable in about 20 to 30 minutes. Then go back over everything with 220 grit and check whether any spot needs a second fill.
The putty has a strong smell and is not meant to touch skin. Ventilate, wear gloves, and if you get it on your hands anyway, wash it off straight away.
Step 5: Filler Primer on Every Part
With the blade smooth at 220 grit, give the resin parts a quick 220 pass as well and prime everything with a filler primer. I use Rustoleum's: it bridges the fine layer lines you will inevitably have missed and leaves a uniform surface to paint on.
Filler primer is expensive in-store, around $24 a can here, but the same can is closer to $14 online, so it is worth ordering ahead if you are doing more than one prop.
Once the primer has cured, go over every part lightly with 220 grit again. Primer sits slightly rough and this pass knocks it back to a paintable surface.
Step 6: Join the Handle to the Guard
Before paint, fix the handle into the guard so the two can be finished as one piece and the joint can be filled. Rinse both parts in a tub of water first to get the sanding dust off.
I fill the gap around the joint with liquid printing resin: transfer it in with an eyedropper and cure it with a handheld UV torch. Use as little as you can. UV only cures what it can reach, so anything pooled deep in the joint stays liquid forever. This is a cosmetic fill, not a structural bond. It closes the crack so the two parts read as one.
If you want the joint itself to be strong, use contact cement or another proper adhesive the way the blade is fixed into the guard in step 11. Wood filler or spot putty would work for the cosmetic fill too; resin was simply what I had open. Wipe the cured resin with isopropyl alcohol and the assembly is ready for paint.
Step 7: Gloss Black Base Coat, Then Wet Sand the Blade
Every part gets a coat of gloss black first. On the blade it is the base for the aluminum colour; on the fittings it is the base for the graphite finish, and the slight tack of a gloss enamel is what makes the graphite stick.
Before spraying, wipe each part with a damp paper towel. Any dust or hair left on the surface becomes a permanent feature under gloss paint.
Once the black on the blade has dried, wet sand it. Mist the surface with water and work over it with 2000 grit paper, lightly. It feels rough for the first few strokes and then goes glassy. That is the point to stop. You are polishing the black, not removing it. Mist again, wipe dry, and expect it to look a little hazy; a second thin coat of black fixes that if needed. Then it is ready for the aluminum coat, and it will feel like nothing you have ever printed.
Step 8: Graphite Powder on the Handle and Pommel
The metallic look on the handle and pommel is not metallic paint. It is graphite powder rubbed onto the gloss black base with cotton pads. Dip a pad in the powder, rub it over the paint, and the surface starts to shine almost immediately. Keep going until the whole part has an even sheen, then do the pommel the same way.
Graphite is cheap and available on Amazon, and its warning label is not decorative. The dust can damage your lungs if you breathe it. Wear a respirator and gloves and work somewhere ventilated. It is also very messy, so cover your bench.
A note on the pommel: the model has a plug meant to pass through a hole drilled in the steel core and lock the pommel on. On my build the plug's hole was larger than the tube, so I cut the plug, set a piece into each side, glued them in place and painted over it. From the outside you cannot tell.
Step 9: Polish the Amulet Gems
The gems come off the printer with support marks and a matte, cloudy surface. Sand them at 220 grit to remove the support bumps, then wet sand at 2000 or 3000 grit until they look clear while wet.
They will go cloudy again as they dry. That is normal. The clear coat brings the translucency back and holds it.
Super glue the two halves of each gem together before clear coating, not after. The glue bonds better to bare resin than to a painted surface, and it tends to run, so give the join one more light sand to remove any excess before the clear coat goes on. Then spray a gloss clear coat over the gems and over the painted fittings.
Step 10: Set the Gem Into the Guard
The gem is held in its slot with hot glue. Hot glue is the right choice because it spreads across the whole back face of the gem, and because the gem is translucent, whatever is behind it is visible.
That cuts both ways. Use enough glue that it spreads to every edge when the gem is pressed in, but not so much that it squeezes out around the sides. I used too little on the first one and you can see a small glue circle through the gem. It did not come back out without taking paint with it, so I left it. Get the amount right the first time.
Step 11: Final Assembly on the Steel Core
The blade-to-guard joint and the blade-to-core joint are done with heavy-duty contact cement. It is a two-surface adhesive: coat both faces, wait 5 to 10 minutes for it to go tacky, then press them together. I also paint a little onto the steel tube before sliding the blade on, so the blade grips the core along its length instead of floating on it.
Slide the blade sections onto the tube, coat the seat inside the guard and the base of the blade, wait for the tack, and bring the guard up onto the blade. Contact cement is toxic and strong-smelling, so this is another respirator-and-ventilation step.
For the pommel I switched to super glue: some in the inset where it meets the handle, and a few drops down into the bore where the end of the steel tube sits. Old contact cement that has started to thicken in the can is not worth fighting with.
Leave the whole sword to cure for at least an hour before you handle it, and longer before you swing it.
Recommended Gear
Our Picks
Pros
- What the blade in this build is printed from
- Tougher than plain PLA, so the blade survives welding and heavy sanding
- Sands and takes filler primer well
Cons
- Still PLA: it softens with heat, so a rotary sander or a hot car will deform it
Pros
- Noticeably more impact-resistant than standard resin on parts that get handled
- Fittings printed in it have been dropped repeatedly without cracking
- Needs very little sanding beyond the support contact points
Cons
- Costs more per litre than standard resin
- Still needs a full wash-and-cure routine before finishing

Pros
- Translucent, so it polishes up into a convincing gem
- Standard resin is fine here because the gems take no load
Cons
- Comes off the printer cloudy: budget for wet sanding and a clear coat

Pros
- Pointed, flat-sided tip draws the weld line and smooths it in one tool
- Cheap enough to dedicate to plastic work
Cons
- Deep welds leave slight surface dips that show under primer
- Produces fumes; a respirator and ventilation are not optional

Pros
- Vibrates instead of spinning, so it does not melt PLA the way a rotary sander does
- Roughly ten times faster than hand sanding a blade this size
- Corner shape reaches into the angles along the blade edge
Cons
- Tool-only listing: you need a compatible battery and charger
- Still hand-sand the final grit for the most even surface

Pros
- Cures the resin fill around the handle-to-guard joint in seconds
- Handheld, so you can aim it into gaps and crevices
- Useful for touch-up cures on any resin part
Cons
- Only cures what the light reaches; deep pooled resin stays liquid
- Does not replace a proper curing station for whole prints

Pros
- Covers plastic welding, spot putty, primer, paint, graphite dust and contact cement
- Reusable half-mask with replaceable cartridges
- Comfortable enough to wear for a whole sanding session
Cons
- Cartridges are consumables and need replacing on a schedule
- Needs a good seal to work, so it does not play well with a beard